Knowledge Base
How To Use Your Optional Battery Pack With The CyberMed H22 or N22
Published: June 20, 2013
Updated: October 4, 2017
In this article we will explain how to operate the optional battery pack that can be ordered for the CyberMed H22 or CyberMed N22. The battery will automatically start working if power is lost. This will give you enough time to save and shut down critical applications. The battery will last about 20 minutes but it is dependent on the usage. First lets make sure that the optional battery pack is installed.Updated: October 4, 2017
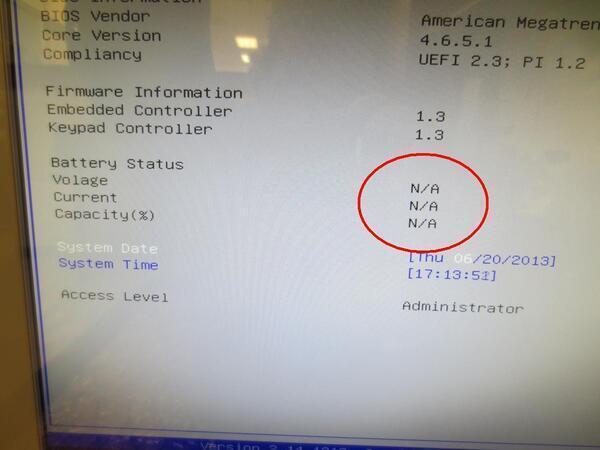
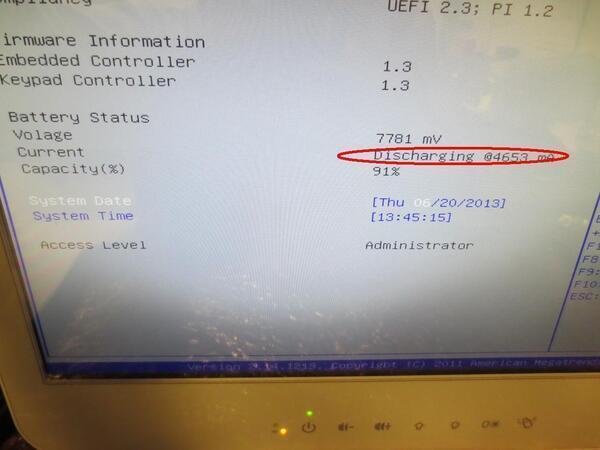
Enter the BIOS setup by tapping the Delete key when the unit is first turned on.
This picture shows that the optional battery pack is NOT installed
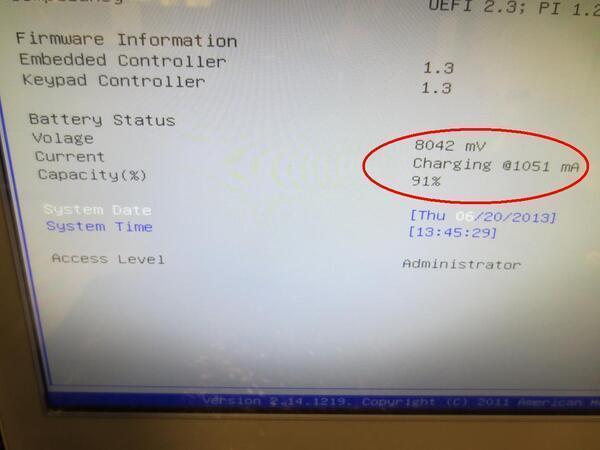
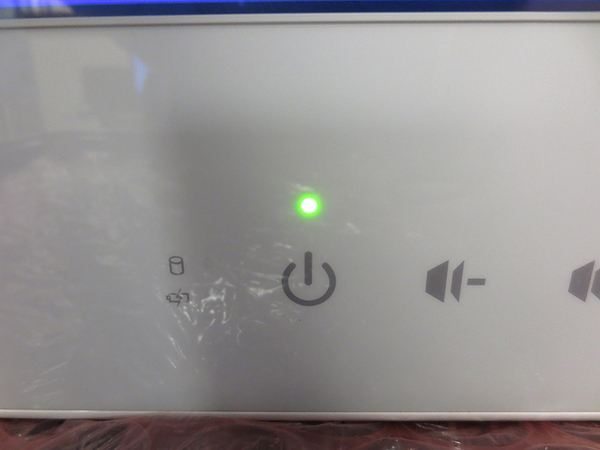
The picture below shows the unit powered on normally and not using the battery.
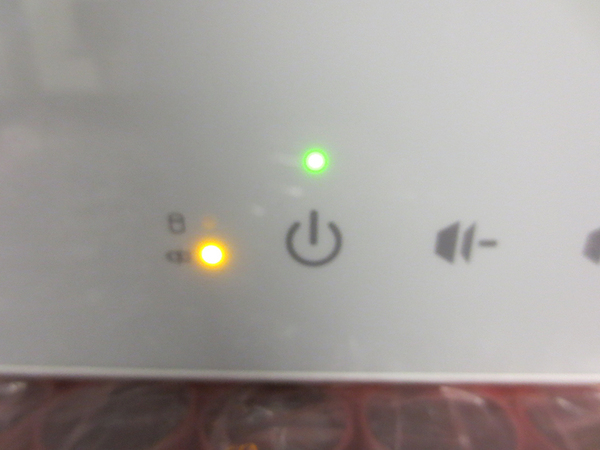
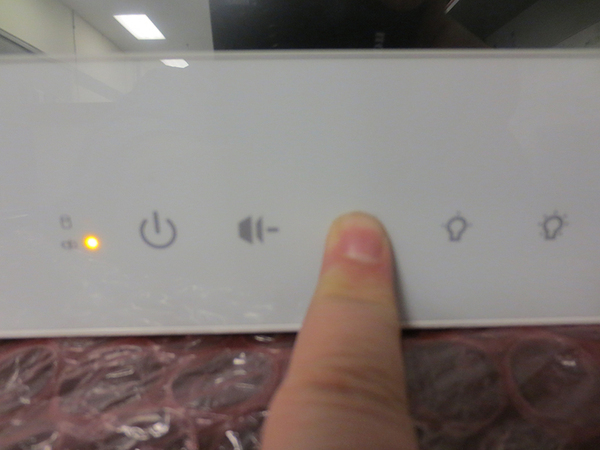
After you have saved and closed all your critical applications you can now power the computer off. When you do so the power light will go off but the battery light will stay on as pictured below.