Knowledge Base
How To Install The 2D Scanner Driver
Published: May 23, 2013
Updated: October 3, 2017
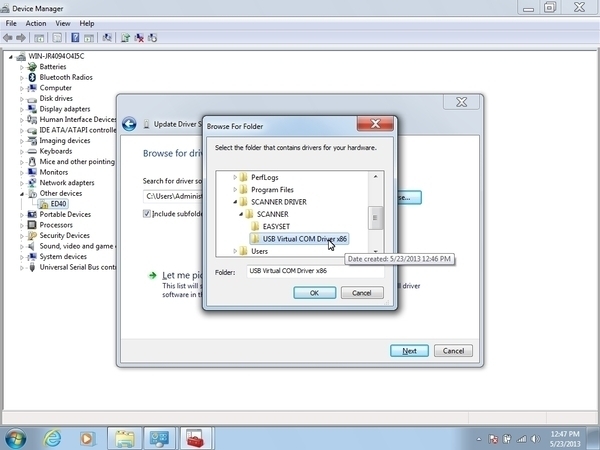
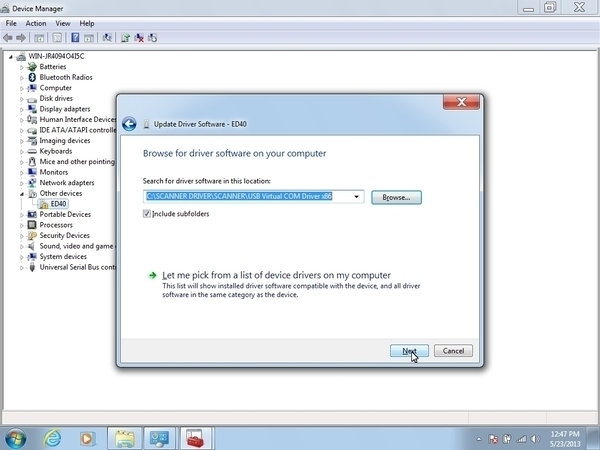
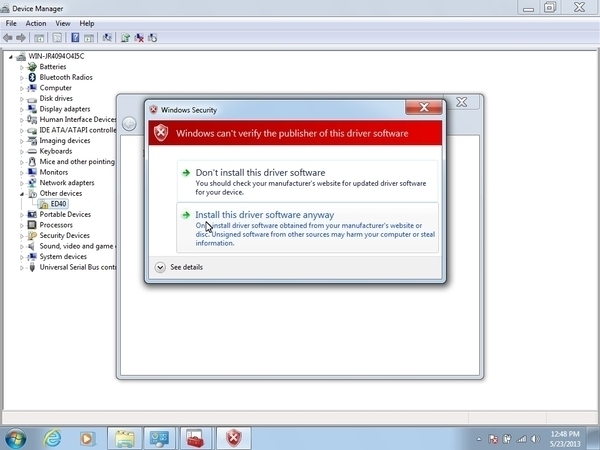
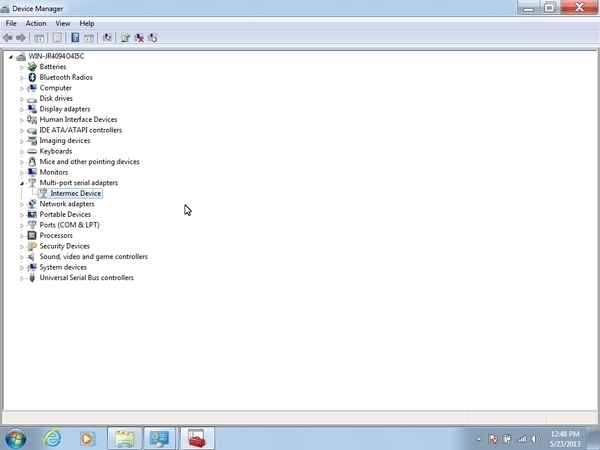
In this article we will be explaining on how to install the driver in Windows for the 2D scanner. You will need to use the T10 driver disc or download the driver from our FTP here Driver Link. This is useful if you find that your 2D scanner isn't turning on in Windows. This is common if you happen to scan the barcode that resets the scanner to its factory defaults. After installing the driver you will then need to program the scanner to read barcodes. Please see the related programming articles if you need help.
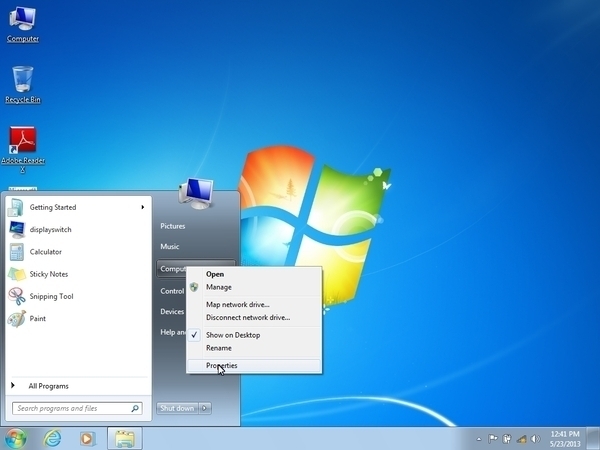
1. Click the start button, right click on computer and choose properties.
Updated: October 3, 2017


Related Articles
How To Tell Which 2D Scanner Is Installed In My CyberMed T10 Tablet
The following article will explain how to tell if you have a 2D Scanner ins ...
View Article
T10/T10C 2D Scanner Power Test
In this article we will go through the process of testing if the 2D scanner ...
View Article
Default Programming For The T10/T10C 2D Scanner
In this article we will explain how to restore the 2D scanner to default pr ...
View Article
How To Use The Easyset Software To Program Your 2D Scanner
In this article we will explain how to start the process to program your T1 ...
View Article